
Anda bisa Bahasa Indonesia? Baca artikel terjemahannya di sini!
Tech is an ever-changing space. As it advances, it continues to produce bigger, better products. Take storage, for example. Their capacity and speed keep increasing, so upgrading might be inevitable at some point. At that point, you could just store the old one in your drawer and forget about it. But wouldn’t it be better if you could donate or even sell it to get some of your upgrade funds back?
Well, if you ever decide to do either, don’t forget to make sure that your storage is clean by following these steps. You don’t want the new owner to stumble on your vacation photos, do you?
Disclaimer: In this article, I’ll be using EaseUS Partition Master Free Edition as a reference. I’m not paid for this, but it’s the first all-around FREE tool that I found. Feel free to suggest alternatives in the comment section below!
Check Your Storage Health
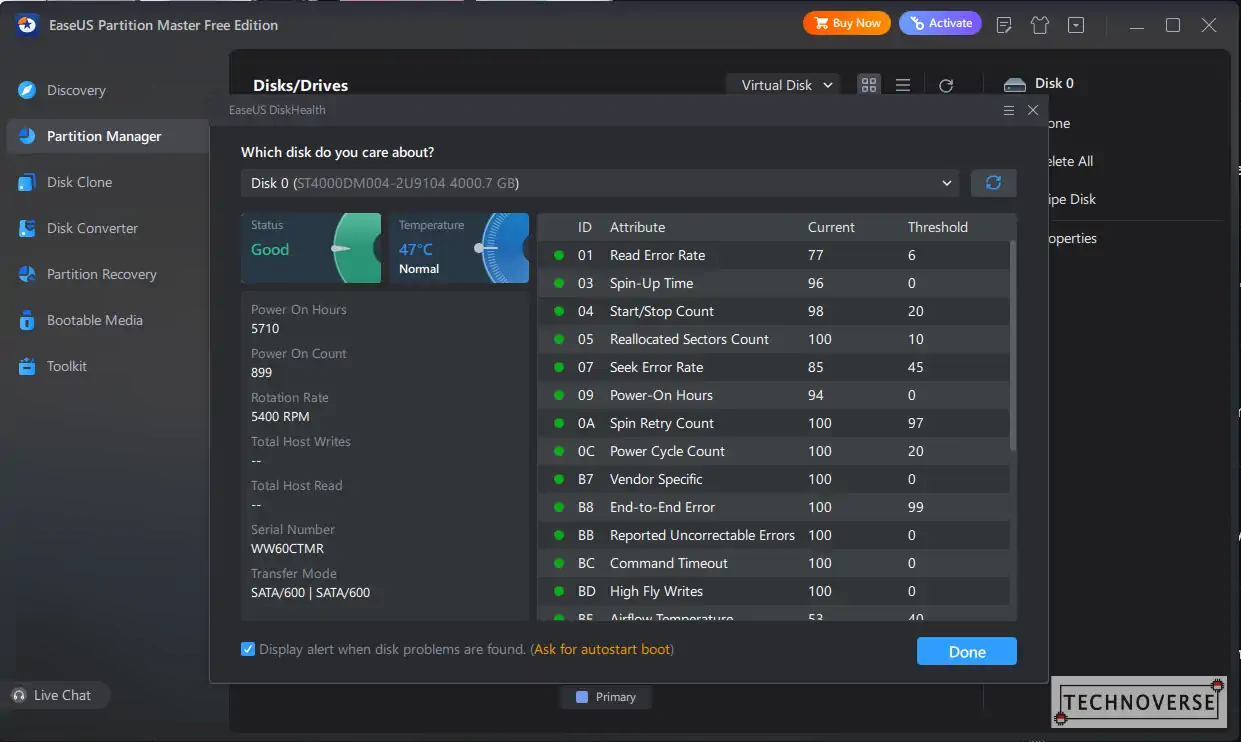
The first thing to do is to make sure that your storage is still healthy and functioning properly. You don’t want to give away or sell defective products, do you? Or, if you do, it’s better to be transparent, right?
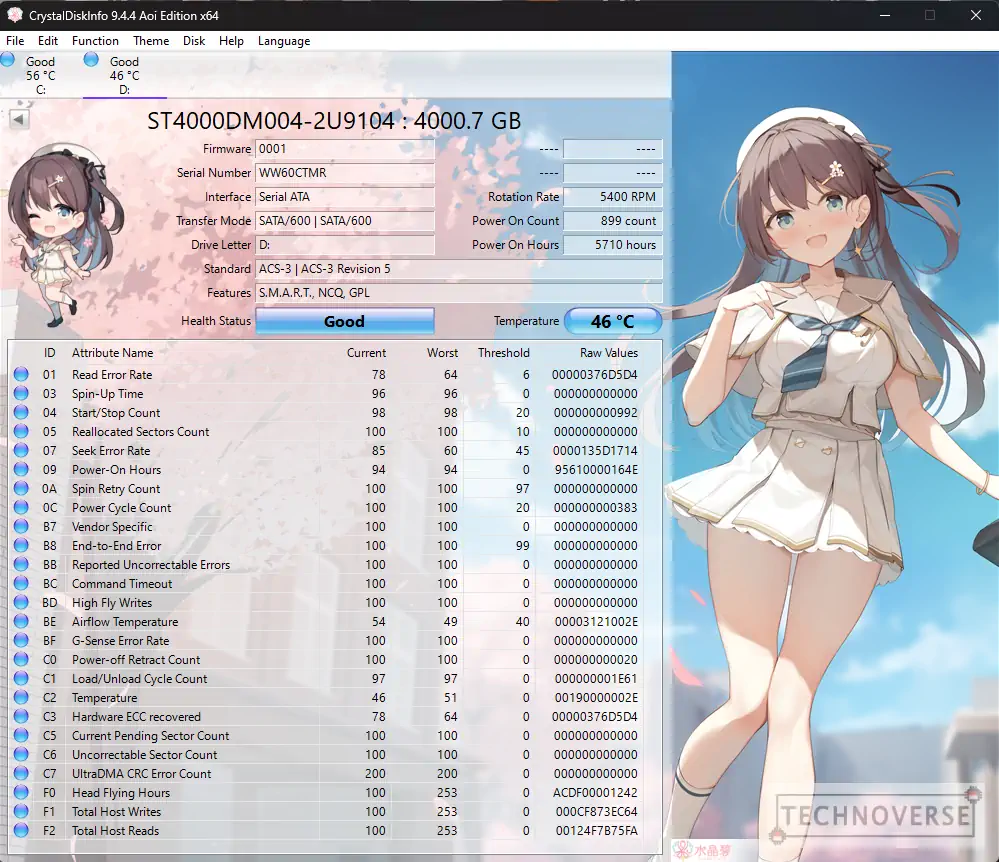
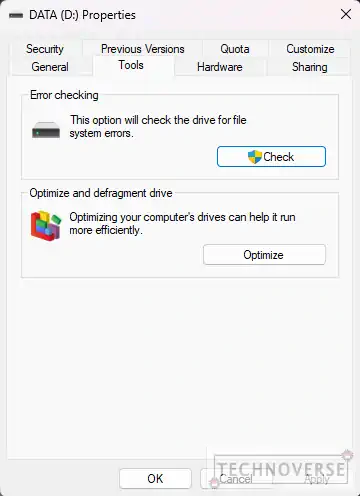
Anyway, you can do this by checking your storage’s S.M.A.R.T status. Another way is to check for bad sectors, either by using… chkdsk Command, Windows’ built-in error checking, or “surface test” from storage utilities, such as EaseUS Partition Master.
Wipe Your Storage
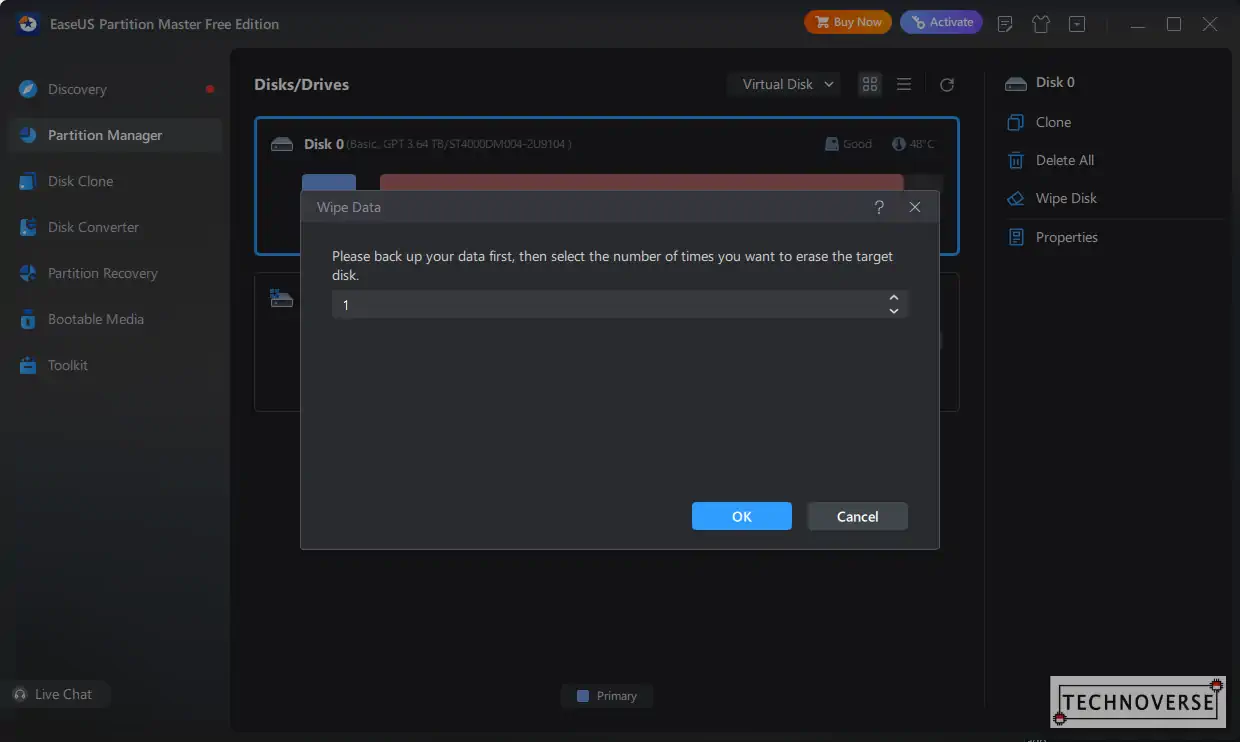
After making sure the drive is healthy, it’s time to wipe the data. To note, wiping data isn’t the same as deleting. When you delete something, your data isn’t actually deleted. It only deletes the “pointer” to your data. The loss of these “pointers” allows the storage to replace the block with new data. That’s why some specialized recovery tools such as Recuva can recover recently deleted files since your data is not actually deleted, at least until it’s replaced with a new one.
By wiping, however, the application will actually replace the existing data with zeros or other random “empty” data. Effectively removing any trace of your existing data. Don’t do this too often on SSDs, though, as this will eat up the disk’s writing capacity.
Applications will typically ask how many passes you want for the wipe process. Usually, once is enough, but you’re free to increase it if you’re quite paranoid about privacy.
Re-partition Your Storage
Now that your drive is a clean slate, I’ll also advise you to re-partition the drive into just one single volume, so it’s ready to use. The storage’s new owner may not be tech savvy, so it’s better just to reset it to the factory state, which only has one partition with the most space available.
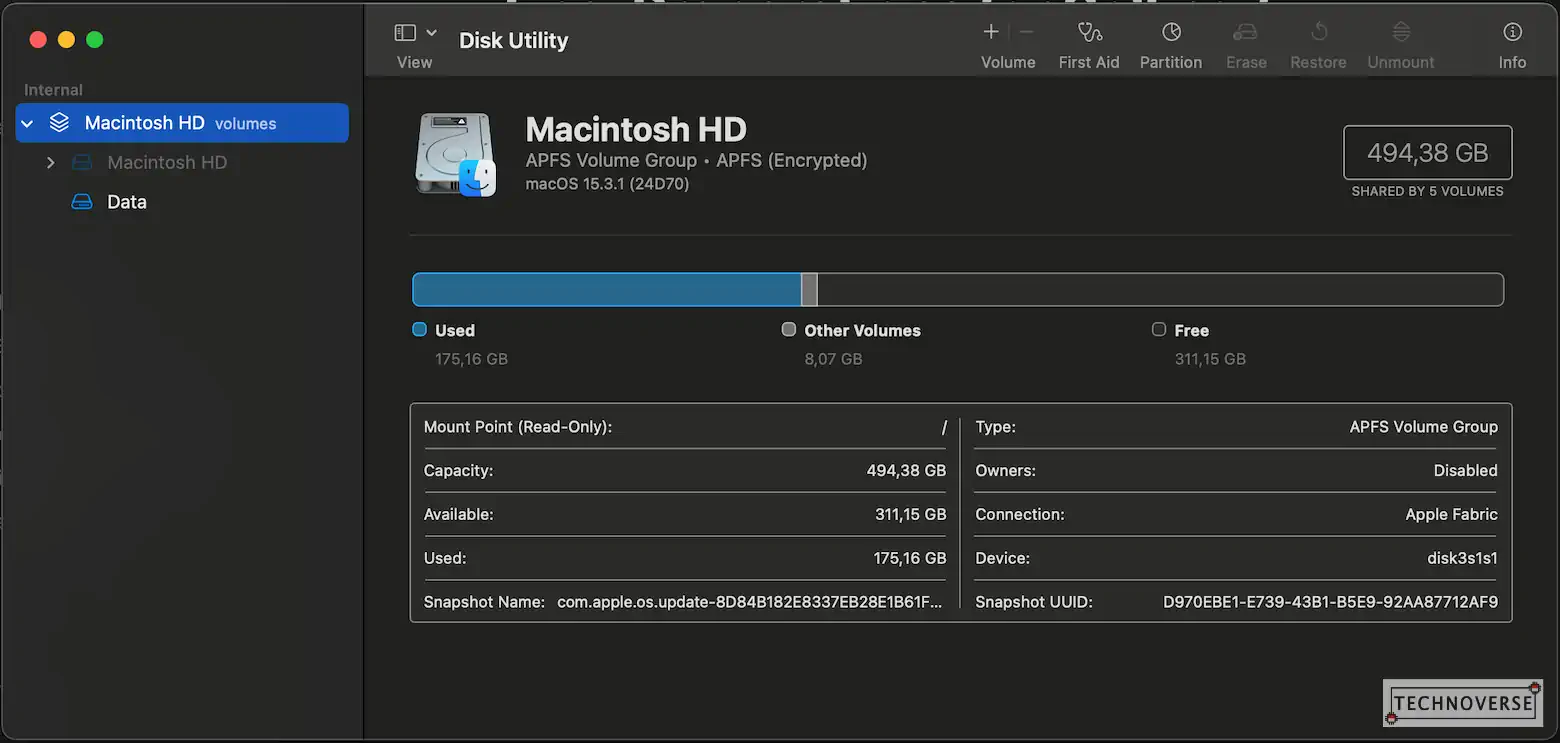
You’re welcome to use any third-party application, but built-in apps such as Disk Management for Windows or Disk Utility for Mac are already sufficient.
Conclusion
So, there you go. If you want to donate or sell your old storage, I’ll strongly advise you to do the above steps, since it’s related to your privacy. Anyway, as usual, if you have questions, feel free to ask away in the comments section. Finally, thanks for reading, and see you in the next article!😁