
Anda berbicara Bahasa Indonesia? Baca artikel terjemahannya di sini!
Happy new year! May this new year become a better year than the previous one!
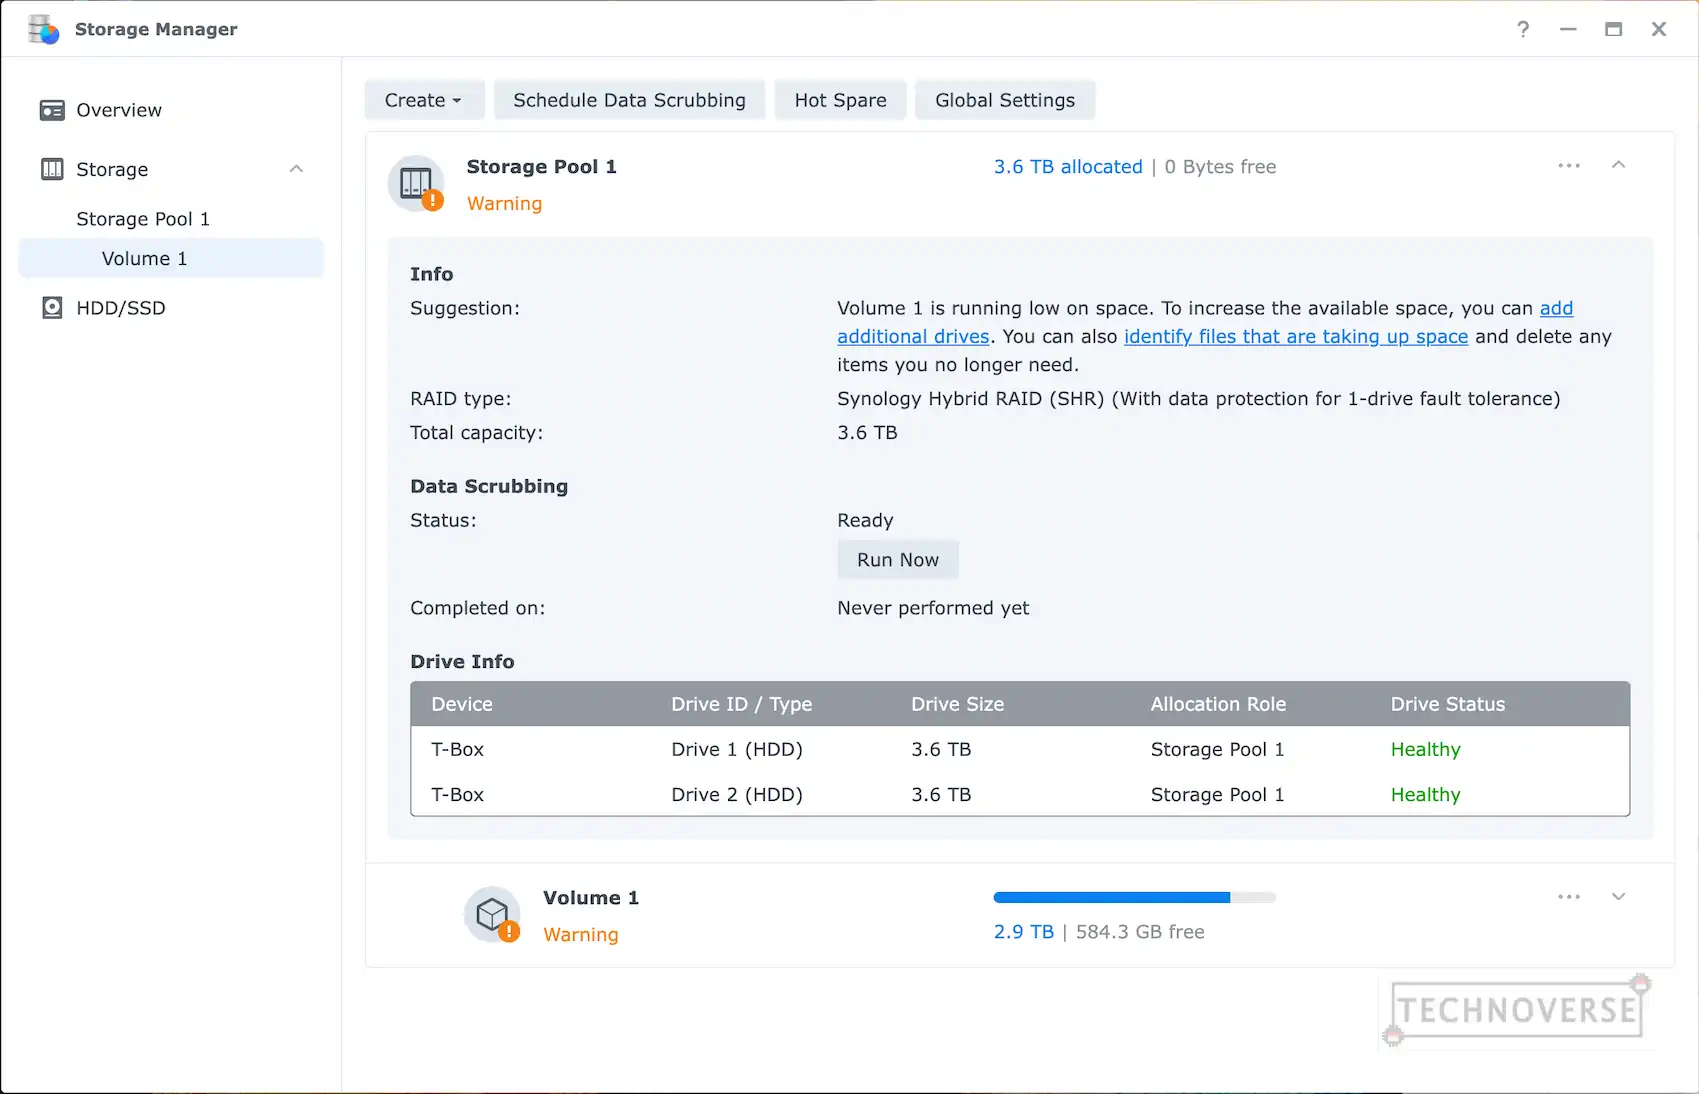
If you’ve been reading my recent articles, you’ll know that I have a NAS. I’ve been using it for many things, like photo backup, Plex server, and Docker container. After a year of usage, I feel like the 4TB storage under Synology Hybrid Raid (SHR) is lacking, so I’m thinking of upgrading.
In this article, I’m going to explain how I do it. So, let’s get to it!
Before We Begin
Apparently, Synology has prepared an article for you to follow here. However, my NAS model, DS220+, does not have this easy option, hence this article.
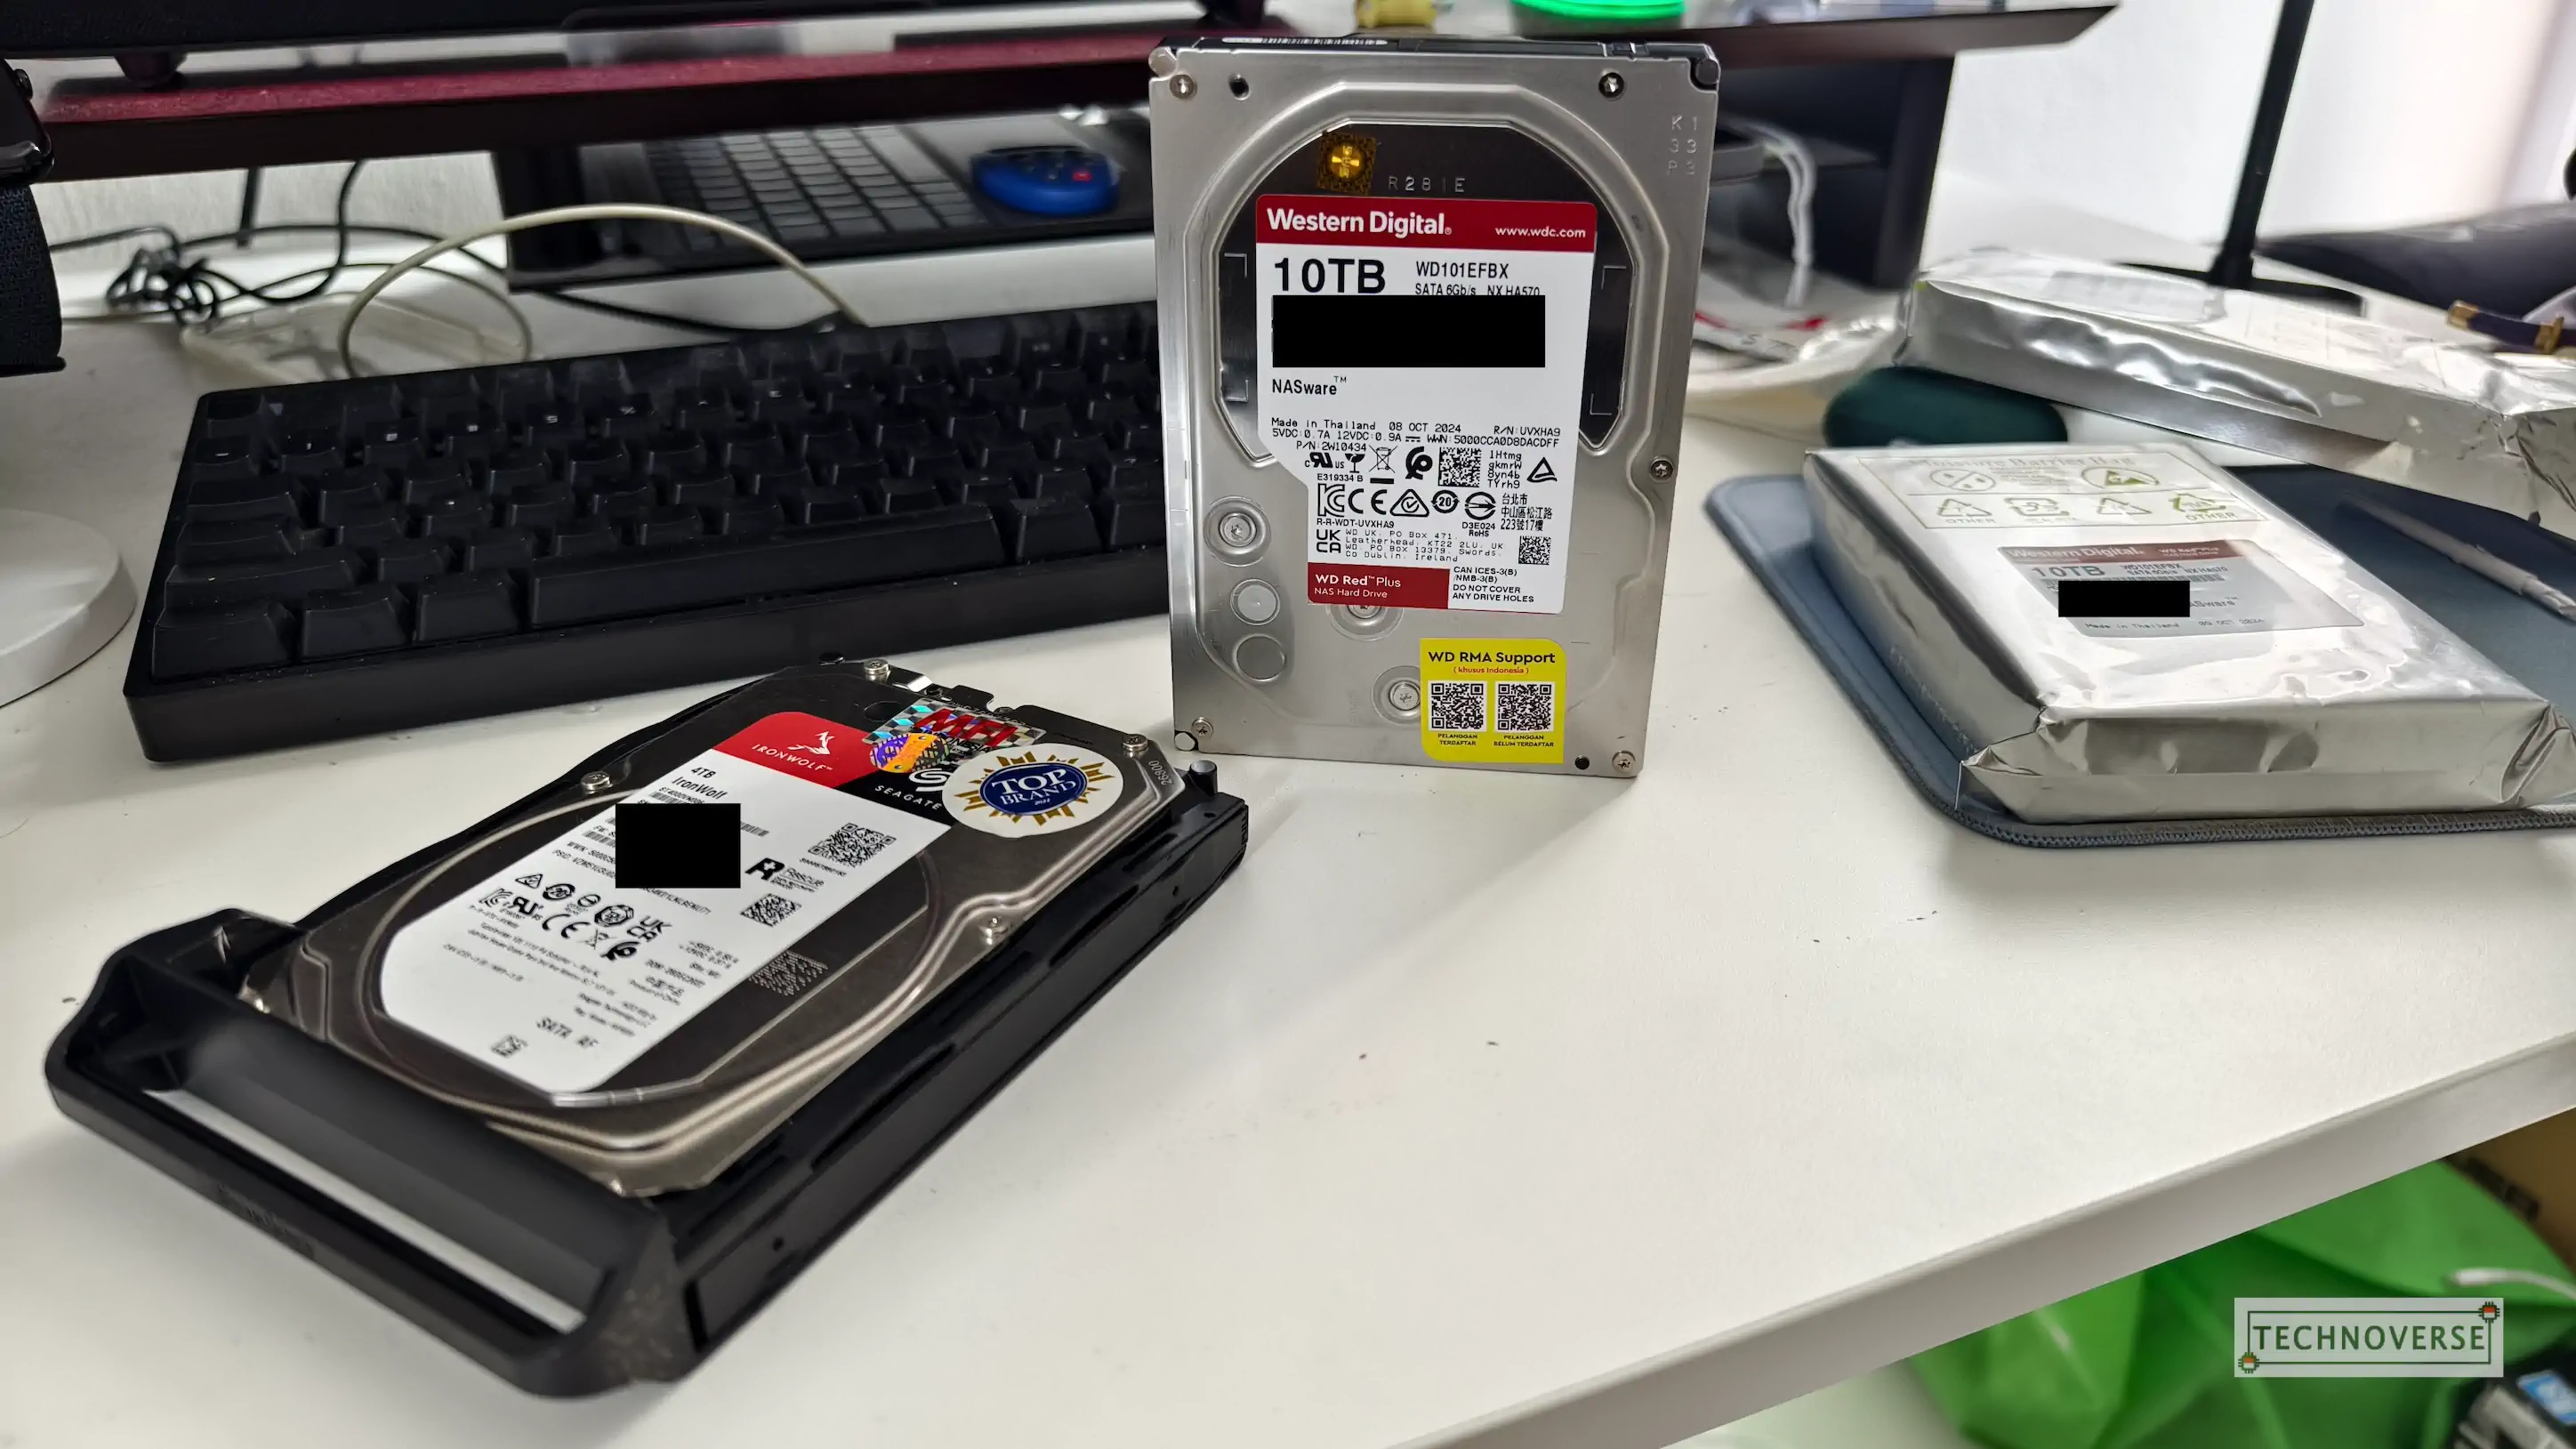
Anyway, I’m planning to upgrade my Synology NAS to 10TB of storage. I’m still planning to use SHR, so I’ll need 2 10TB drives. I’m going to use WD Red Plus drives for this upgrade.
Upgrading Your Synology NAS: Step by Step Guide
1. Back Up Your Data
Although this process is generally safe, it never hurts to keep a backup of your data, or at least the important ones…
2. Power Off Your Synology NAS
Although some Synology NAS models support hot-swapping, I’m not sure if this particular model (DS220+) does. However, on the safe side, if you don’t need this server to be always-on, then it’s better turning it off than risking data loss.
3. Replace One Drive (and Clean Your Synology NAS!)
It’s fairly easy to pull out a hard drive from a DS220+. You just need to pull out the NAS’ magnetic cover, then hold the button on one of the bays to pull it out.
Although this sounds obvious, please take extra care when replacing the hard drive in the bay. Although modern hard drives are much more robust, they’re still fragile.
While you’re at it, why not clean your NAS as well? I’m pretty sure you won’t touch your NAS again in the foreseeable future, unless you’re running out of storage (again) or, God forbid, something happens to the hard drive.
4. Power on Your Synology NAS
Once you’ve replaced the hard drive and put the bay back, turn on your Synology NAS. At this time, if you’re using SHR like me, you should hear beeping sounds and a notification from DSM that your storage pool has degraded. Don’t panic, as this is normal, as long as it still detects your new hard drive.
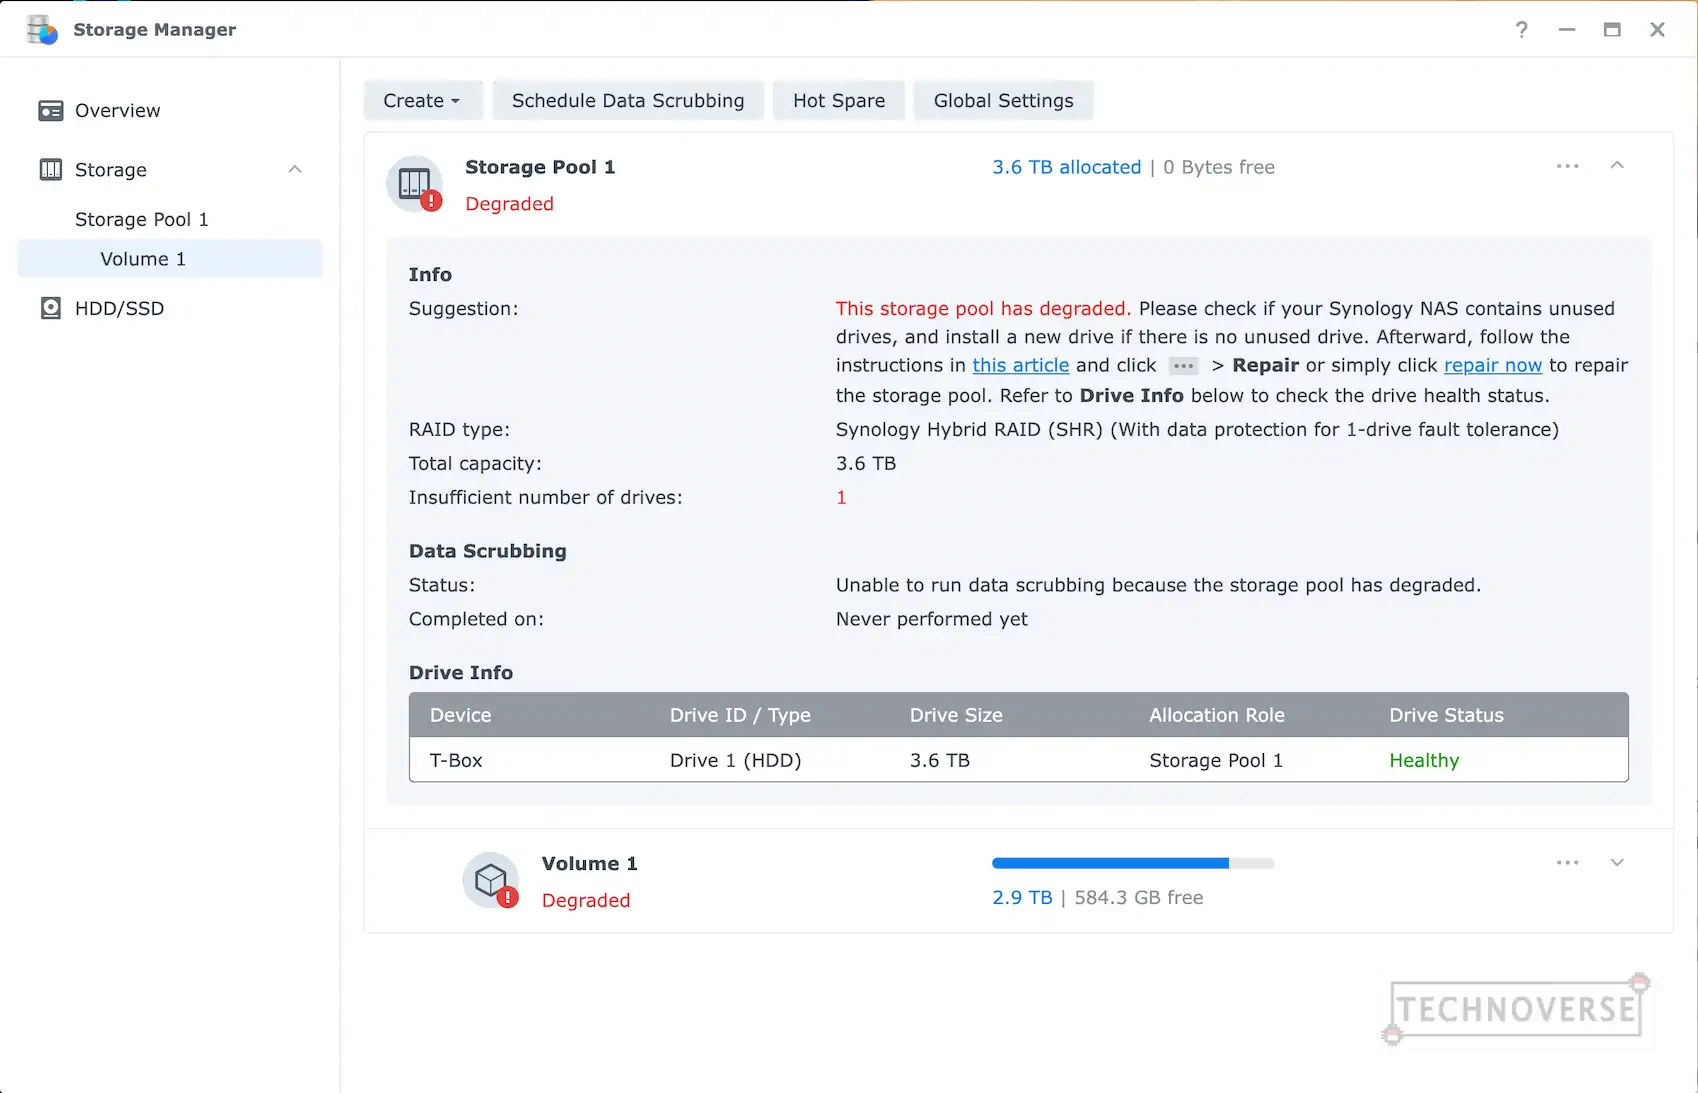
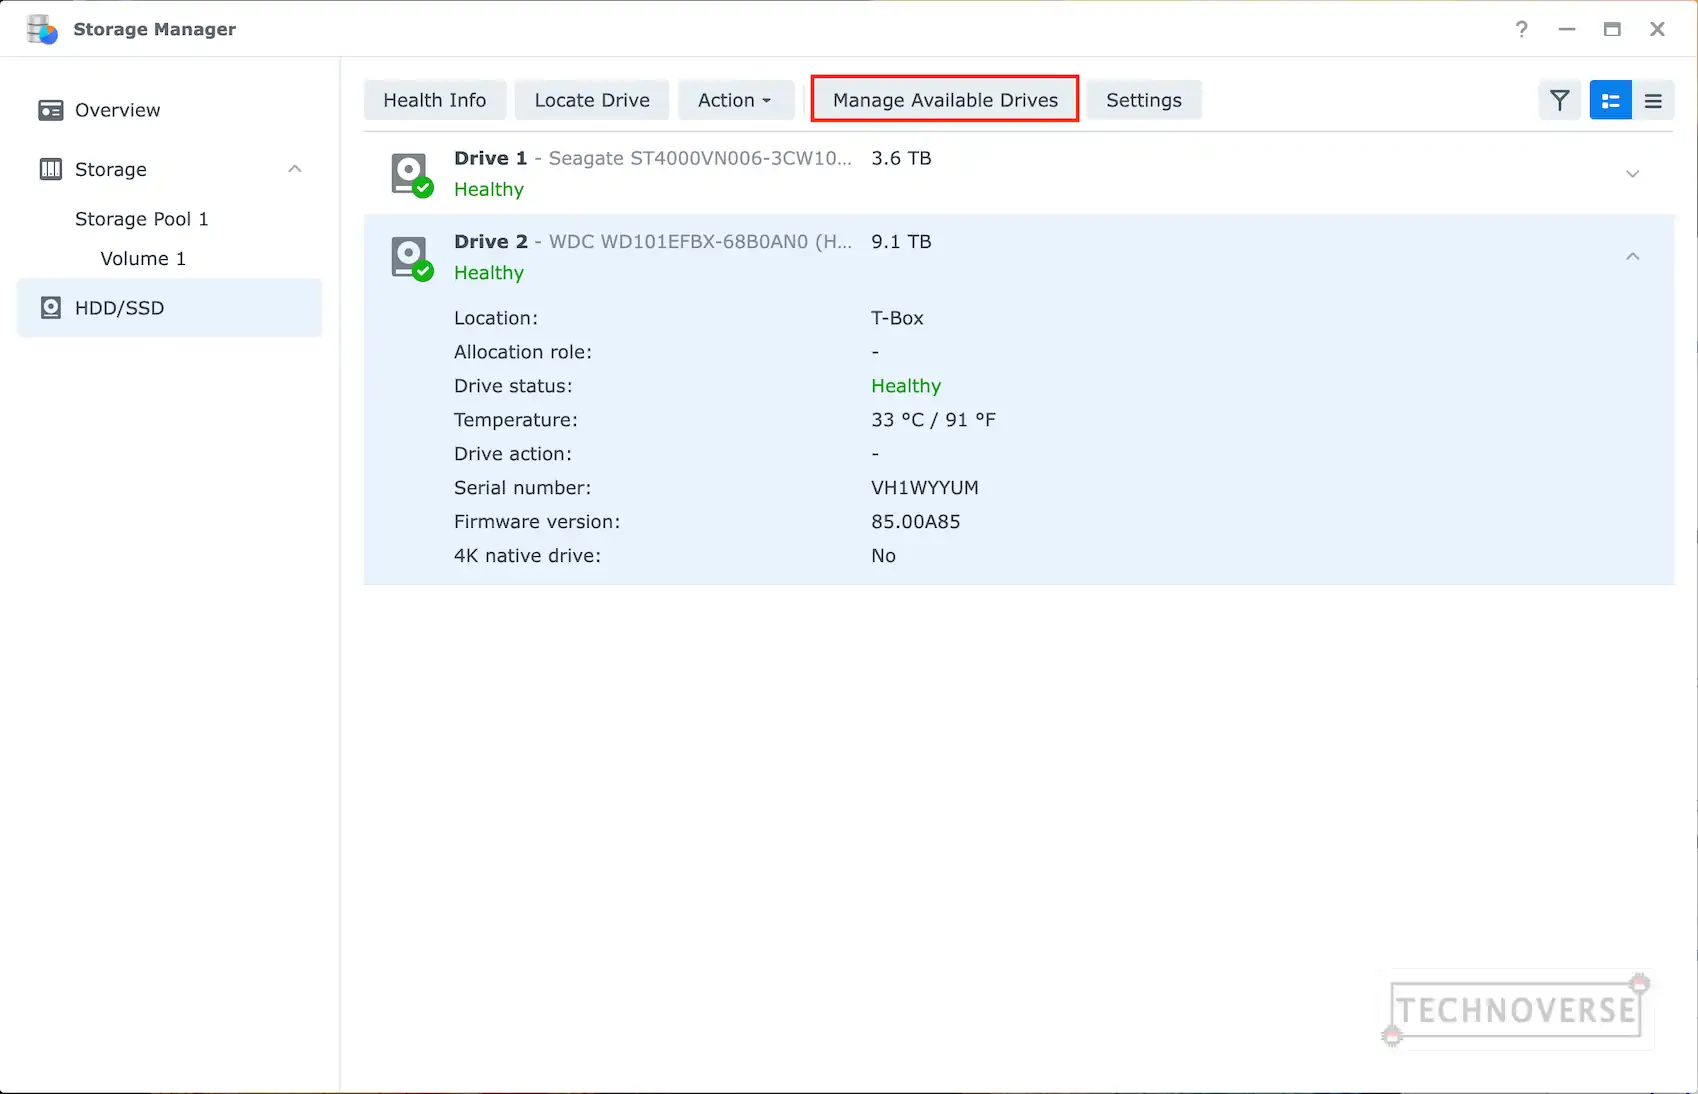
To fix this, from your DSM, go to Storage Manager, then select HDD/SSD menu on the left pane. Choose your new drive, then click Manage Available Drives button on the top of the window.
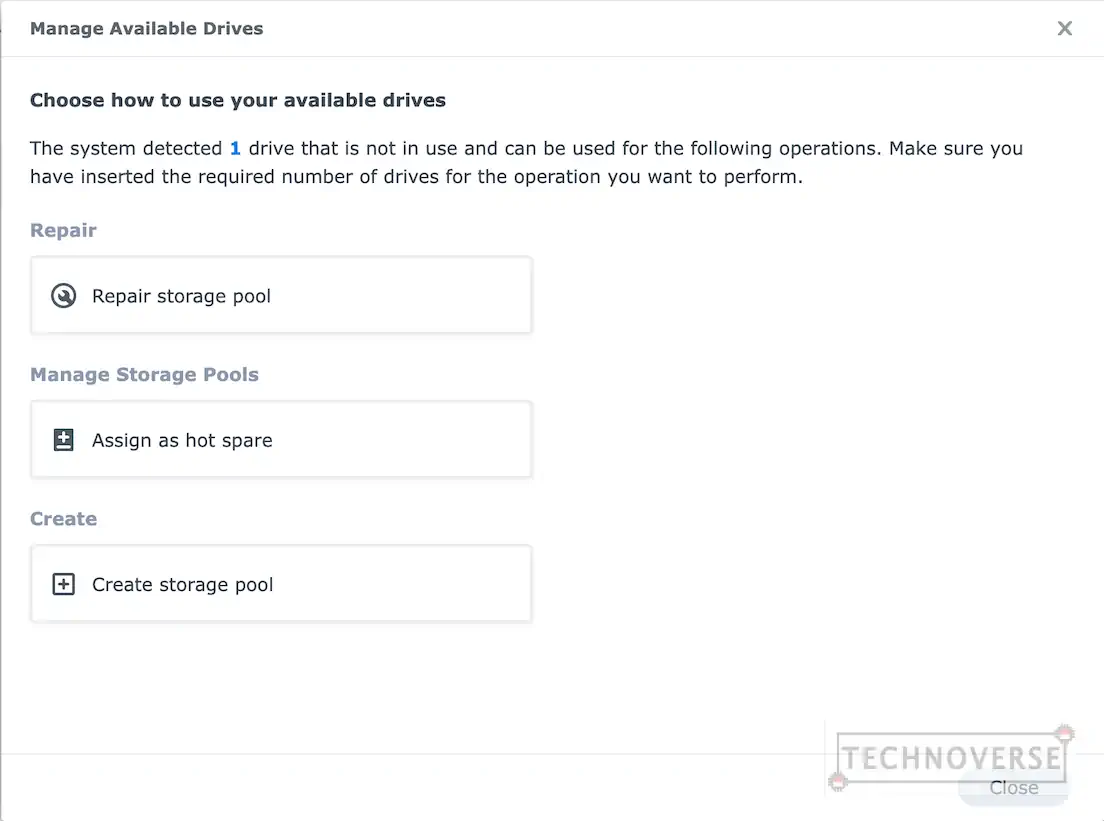
You’ll be presented with a new window. Choose Repair storage pool to fix the degraded one. Afterwards, select the new drive as the second drive, and confirm that you want to format the new drive.
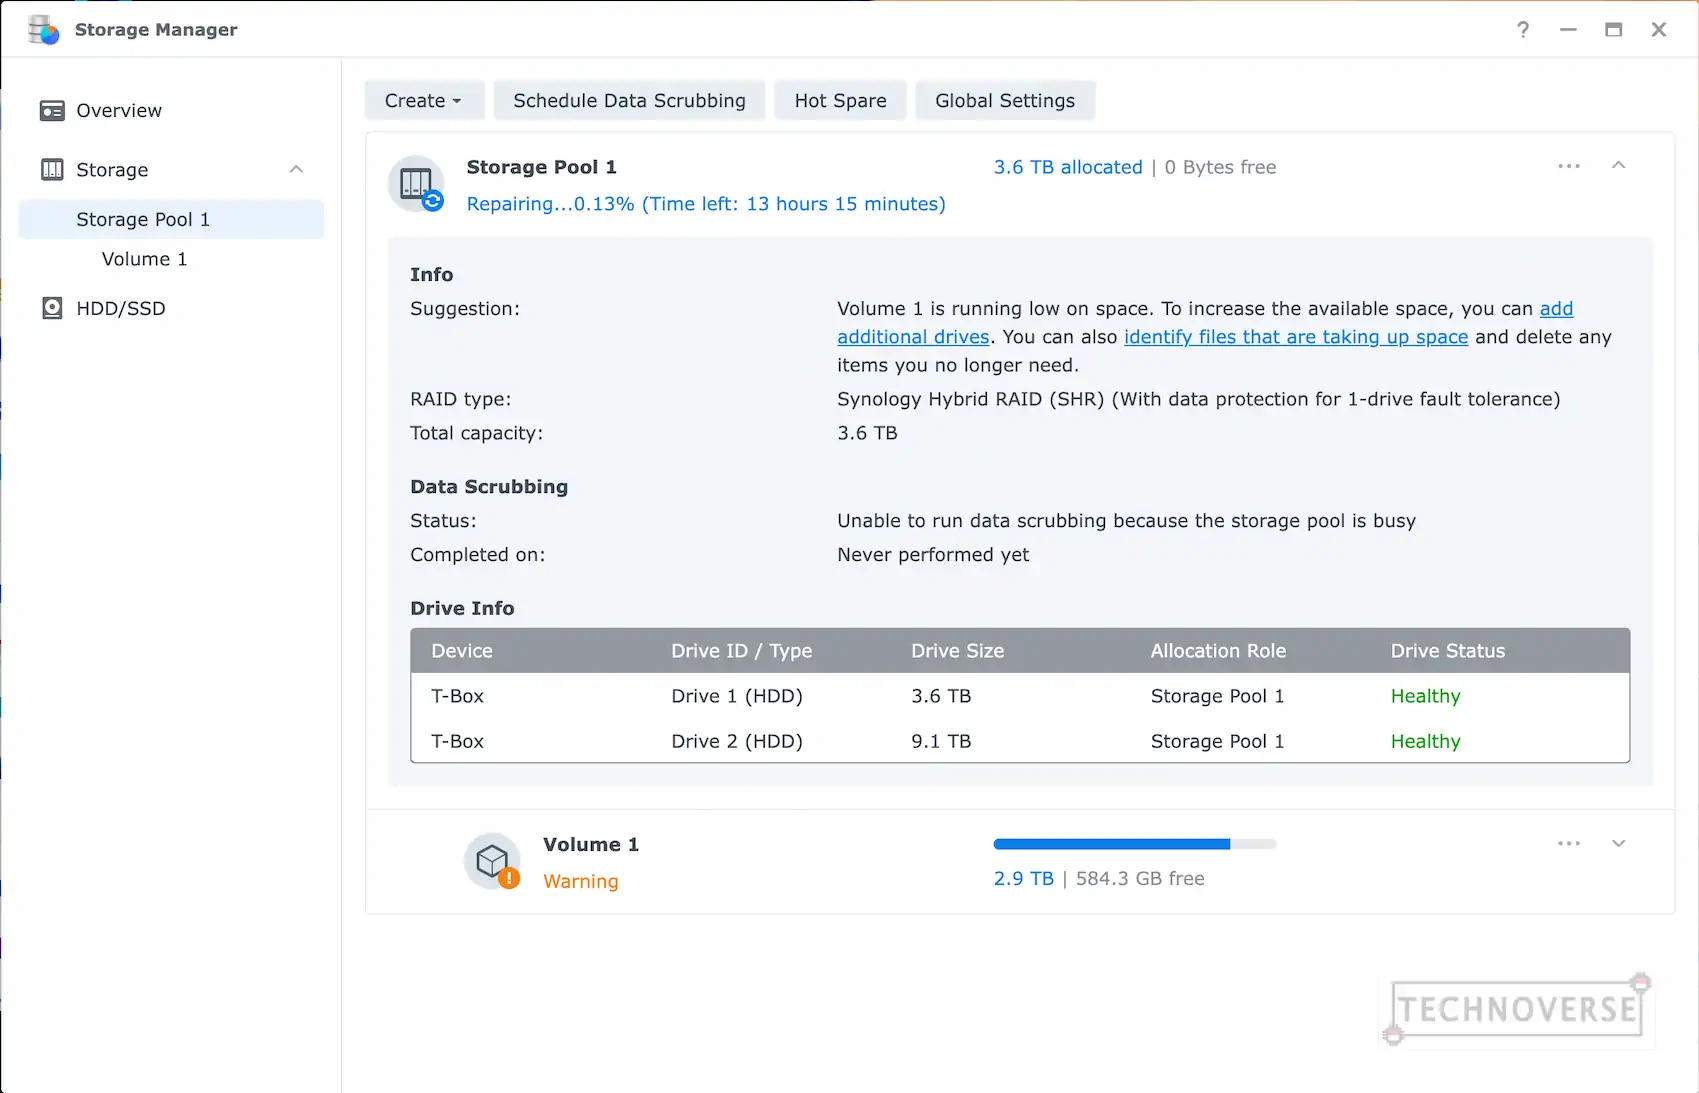
Once that’s done, the repair process should begin. In my case, this first replacement takes around 7 hours to complete. Of course, your mileage may vary depending on your storage pool’s capacity and usage. Also, you can still use your NAS as usual during the repair. I didn’t experience any performance degradation.
5. Repeat the Process for the Second Drive
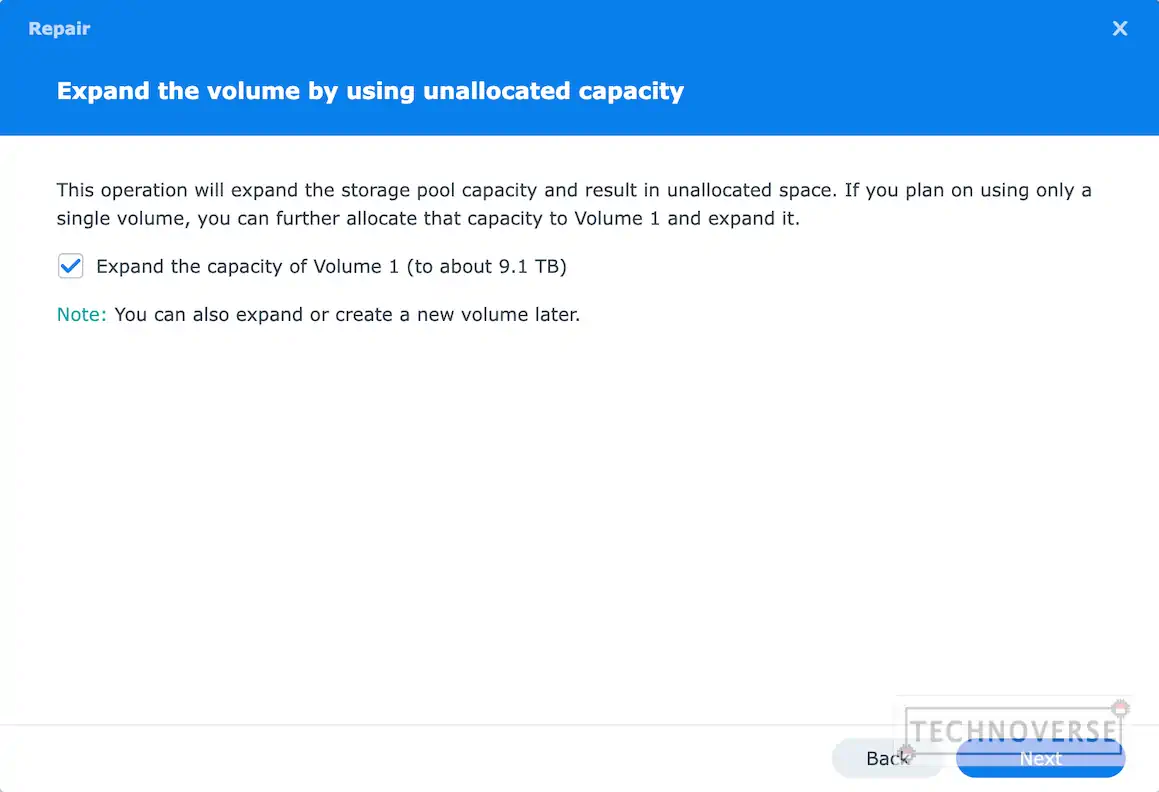
Once the repair is finished, go ahead and replace the next drive with the same steps. However, this time, when attempting to repair the storage pool, it will automatically offer you to expand the pool’s capacity, since both drives now have more capacity than the previous ones. You can always do it later, but for convenience, I just accepted the offer.
For your information, this second part took me around 6 hours, faster than the first one. This, again, may vary depending on your storage pool capacity and usage.
Conclusion
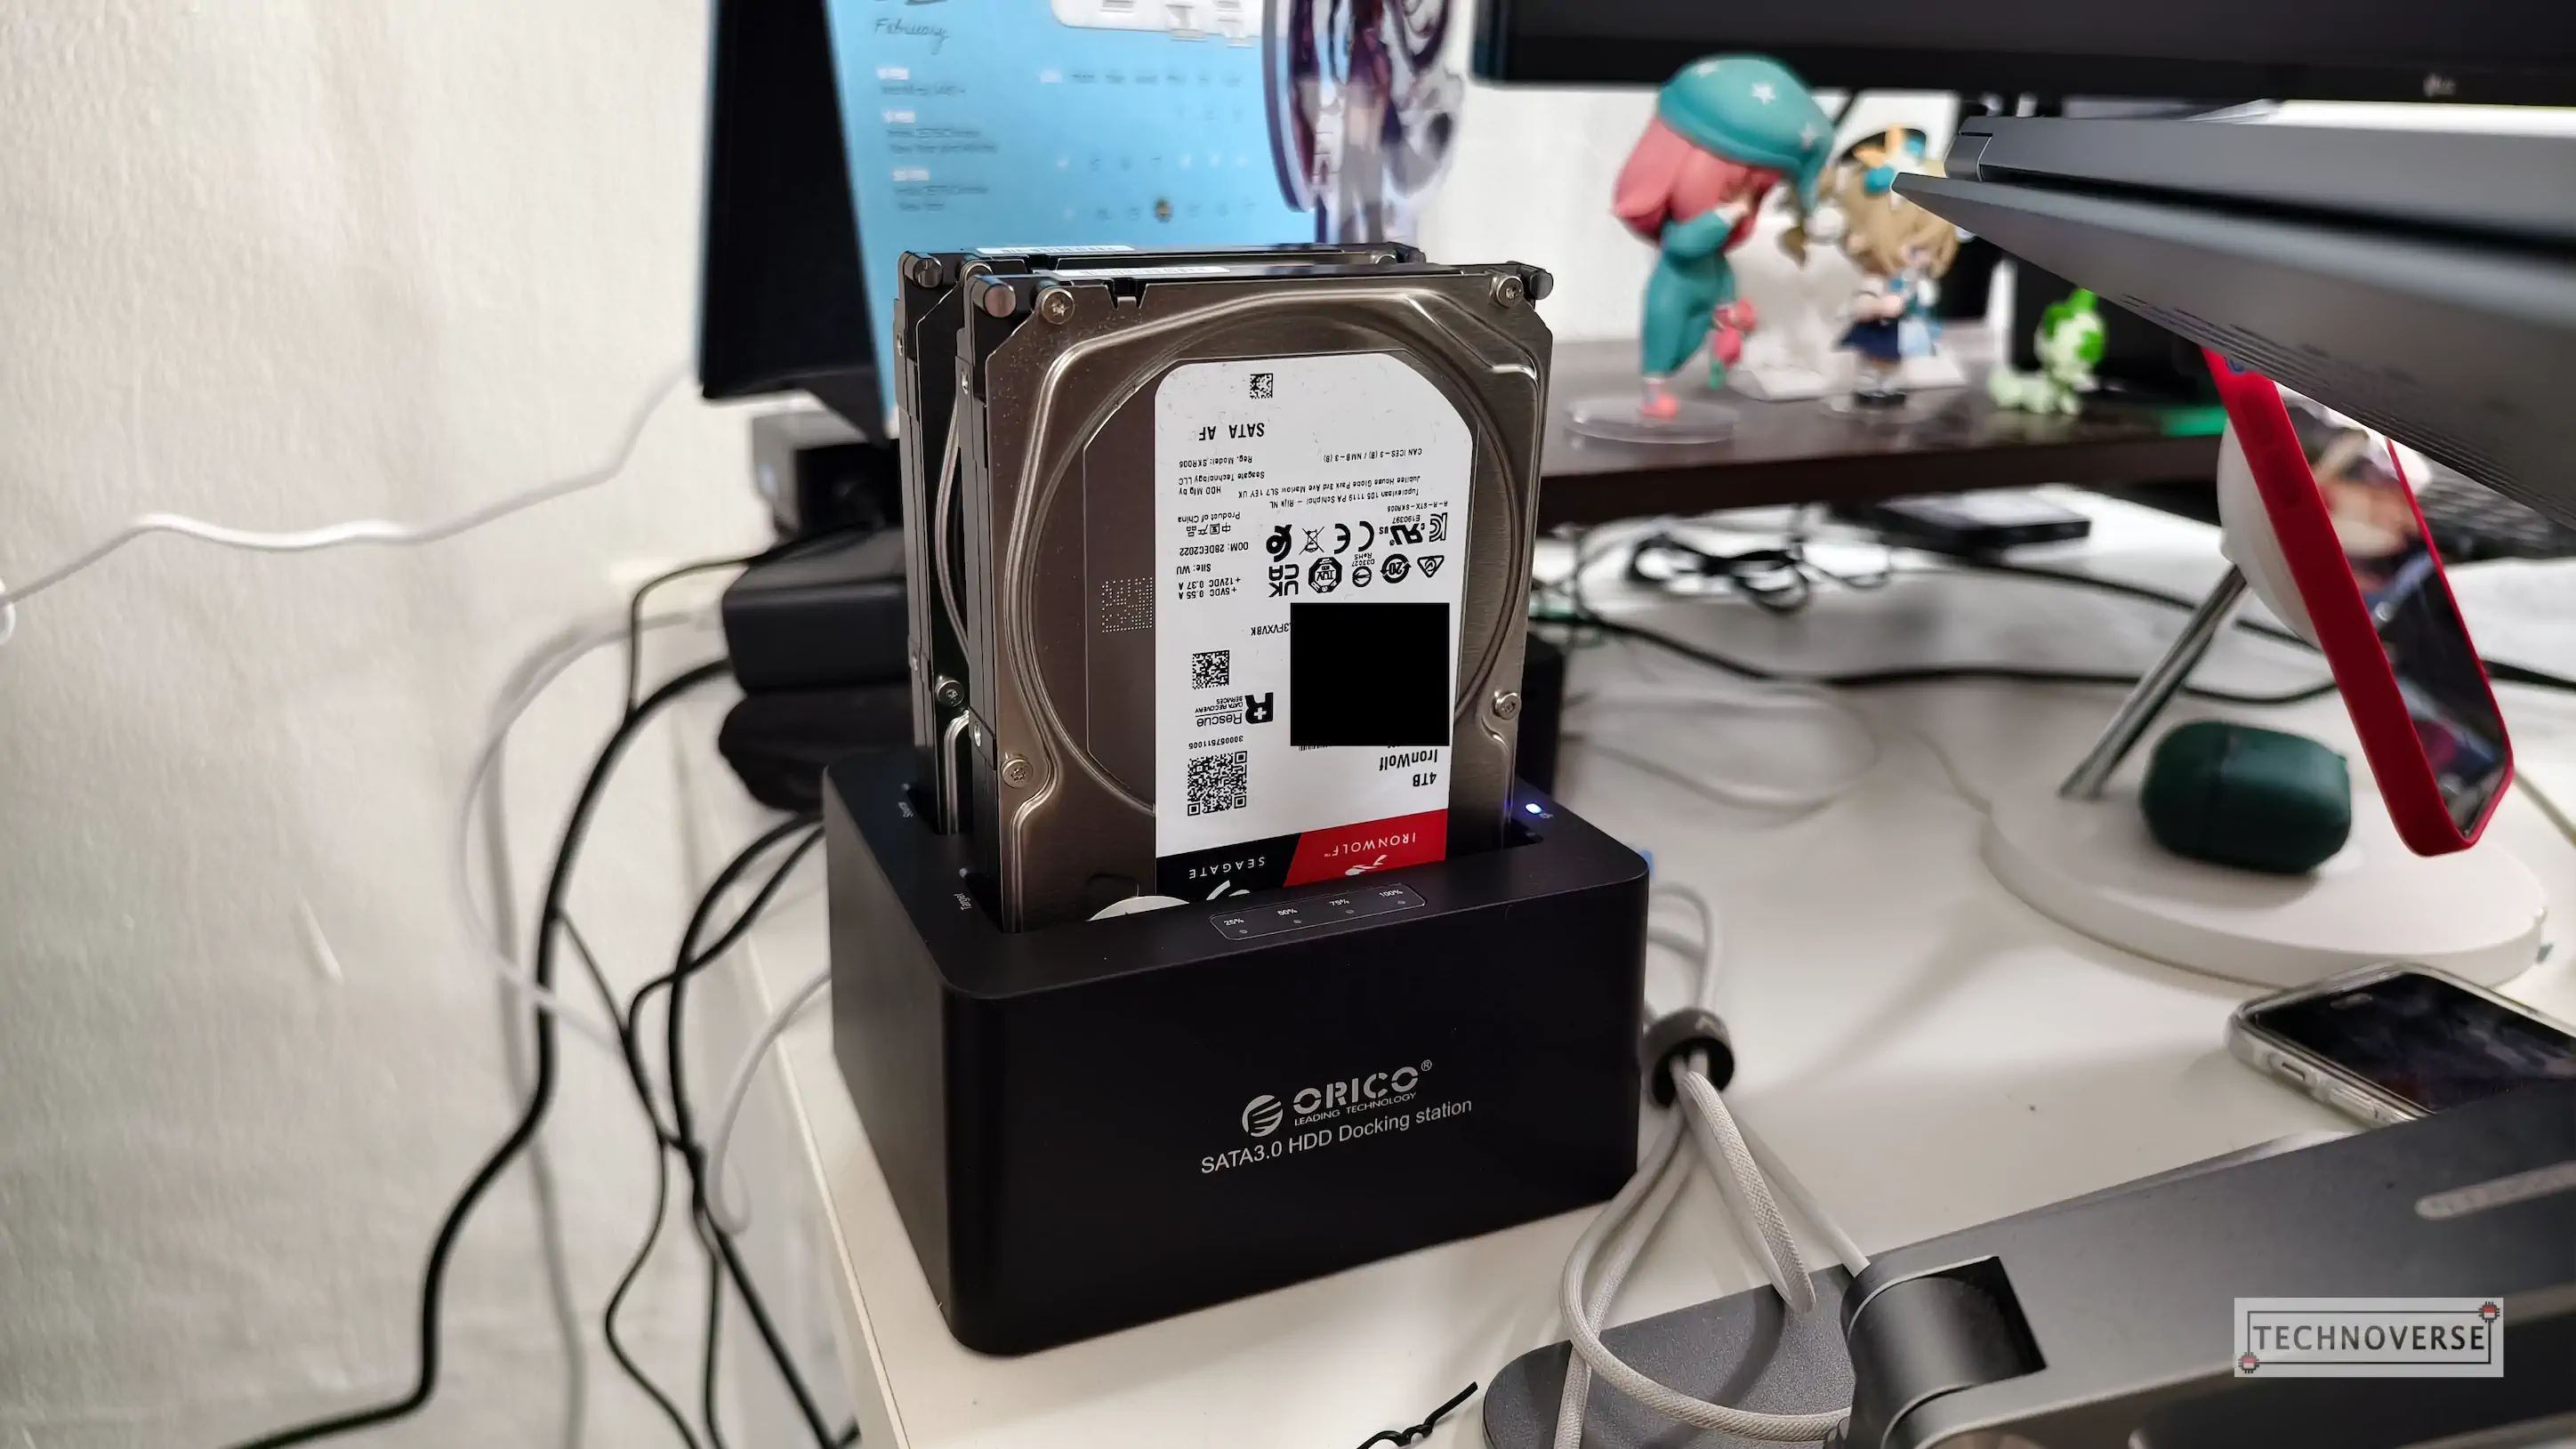
And that’s it! Congratulations, you’ve finished upgrading your Synology NAS. Now you have a couple of idle hard drives that you can either reuse or sell. But if you’re doing the latter, make sure you format and scrub / wipe both hard drives, since your previous data may still be recoverable. You can use an app like MiniTool Partition Wizard to do this.
Well, I guess that’s all for now, Folks! I hope this article is useful for you. As usual, if you have questions, feel free to ask them in the comments section below. Finally, thanks for reading, and see you in the next article!😁